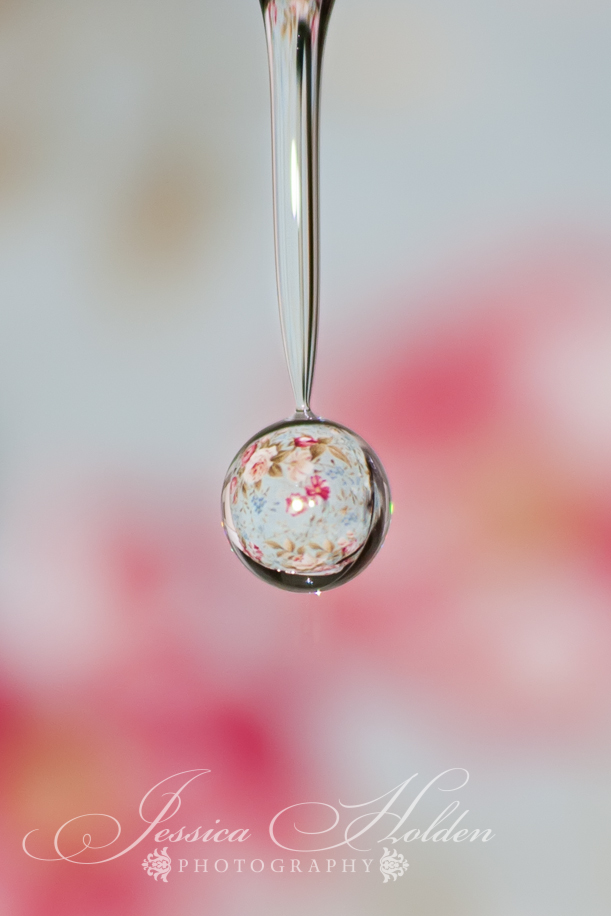
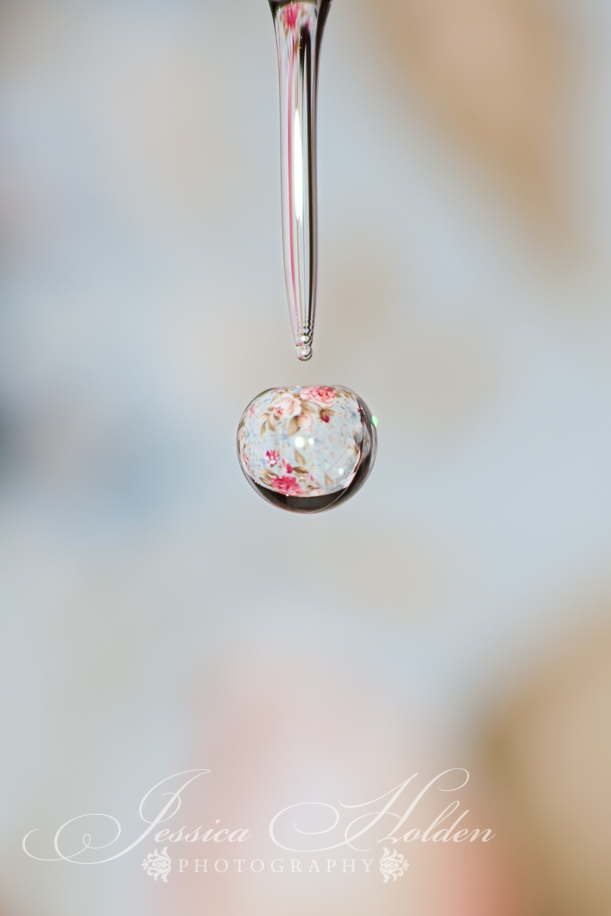
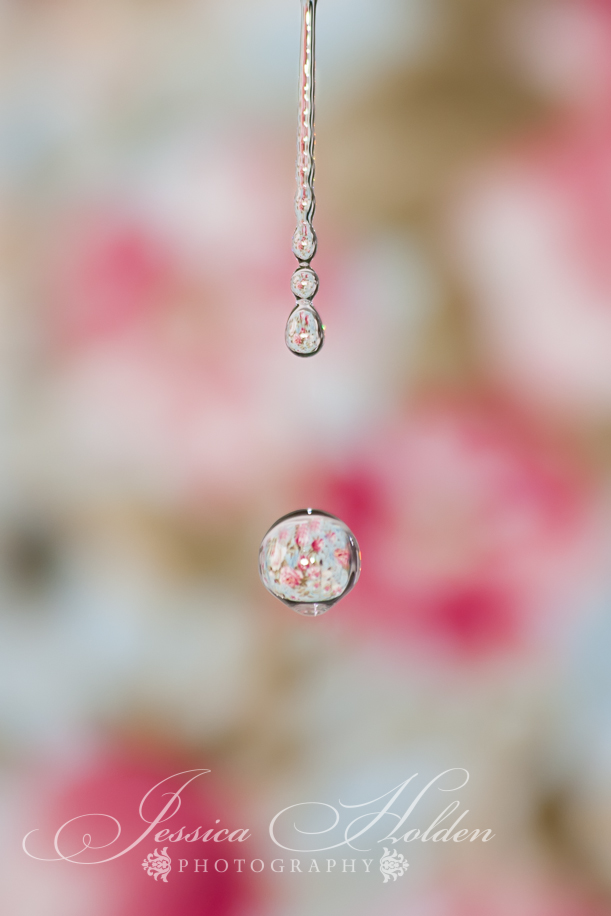
The newest in my Tutorial series, shooting water droplets! It’s a really fun way to play around when you’re stuck inside during these cold winter days!


I shot these images a long time ago, and I had used my trusty Canon 40D with the 70-300 variable-aperture lens and my 430EX speedlight set in automatic mode. My settings on these were ISO 400, f/5.6, focal length 300mm, and SS 1/125. I also used my remote trigger to avoid any camera shake.
First of all, when setting up your shot, keep in mind that anything you choose to highlight in your droplet will be upside down, so if you care about the “up” or “down”, be sure to place your background upside down.
Select a background with colors/patterns you love. I played with a couple of fabrics and objects, but I liked the colors/feel of this the best. It’s just a piece of fabric I bought years ago with the intent of making napkins. Dishtowels, cloth napkins, wrapping paper, fabric, even small-ish toys or flowers in front of a backing of some sort—all of these will provide visual interest in your droplet. The world is your oyster! I think it would be fun to do it with a child’s drawing, too (though it might get splashed a bit). And with your object, don’t be afraid to go a bit larger than you’d think (I’d say anything up to about the size of a full-sized rubber duck)—the drop will greatly miniaturize your background.
Similarly, remember that the drop itself will show a lot more of your chosen background than will actually be framed within the four sides of your image—the droplet is, in a sense, acting as a fisheye lens and thus is very wide. Before finalizing your set-up, be sure you zoom your LCD all the way in on the largest droplet you capture to be sure you like what you see.
Also with regards to the background, I noticed while I was looking at the tiny image on the LCD that I didn’t like the “busy” of the pink you see in the first photo so I changed it for the bulk of my images, but on the computer later when I was editing them (after everything was put away, of course), I ended up liking the ones with pink much more. I recommend, after you think you love it on the LCD, that you check out the basics full-size on your monitor to be sure before you really start shooting in earnest. Check to make sure that 1) you love the background, 2) you’re satisfied with the “fisheye” view within the droplets themselves, and 3) you’ve really gotten tack sharp droplets with the background as soft and fuzzy as you want (by adjusting the focus and aperture as necessary).
For the basic set-up, I used a tripod, and remember if you use a tripod with an IS lens, turn off the IS for sharper images: When you are on a tripod, the very act of the IS mechanism “doing its thing” can actually cause minute vibrations, and in a situation like this where you are zooming in very closely on a very small object, that tiny movement can make or break your sharpness. This is especially true if you are also planning to crop later, which I was.
I set my camera up vertically on the tripod, because that gave me the tiniest bit more wiggle-room in which the drop was still “traveling” within the frame. I used my 70-300 lens, and attached the speedlight. The closest this lens will focus is 4.9 feet, but that was fine because I wanted to use my flash to freeze the motion, and I didn’t want the flash so close so that it would overexpose the photo with my chosen aperture and SS. I also used my remote, though if you press the shutter gently and smoothly to avoid camera shake, that might not be necessary.
I zoomed all the way in, and I used a high enough aperture (5.6) that the entire “chain” of water was in focus, but my lens was far enough that I also got a nice background blur at that aperture.
Play with around with your ISO and aperture to get your exposure, sharpness, and background blur just how you want it. You might also need to adjust your flash strength up or down as necessary. I found a shutterspeed of 1/125 to be just about perfect (any higher and I got a “ghost” droplet underneath the main droplet).
My set-up (in my old kitchen!) looked like this:


Next I turned the water on low enough so that it was just coming out of the faucet a drop at a time.
I found the easiest place to focus was right where the water dripped from the tap. I toggled my focus point to the very top one and made sure the camera was situated precisely so that my selected focus point was right where the water droplet came out from the tap. I used back-button focusing (manual would work as well) in order to separate focusing from the shutterclick so the camera would not attempt to refocus with each click (otherwise your background might end up in focus instead of your droplet). I focused carefully on that spot, and I did a test shot to confirm focus (zooming in all the way on the drop on the LCD). I didn’t touch the camera (since I was using the remote) or refocus again after that.
Pre-focusing is also important because the timing becomes crucial for this type of shooting, and even a fast lens often will not be able to achieve focus on a moving drop before the droplet is long gone. Also, because I wanted these to be really macro, I knew I’d be cropping quite a bit, which inherently causes a drop in sharpness.
Once I achieved focus, I used my remote partly so I wouldn’t have to keep my eye glued awkwardly to the viewfinder and partly so the camera would not move at all while I was shooting. (I was sitting beside my camera/tripod on a chair, so my eye was at about the same level as the camera.)
Timingwise, I waited until the drop coming from the sink looked the fullest but just before it dropped—I found that the inherent split-second delay between my brain and my trigger-finger was just about perfect for catching the actual drop that way. But having said that, it’s tough to click at just the right moment, and I took dozens and dozens of shots to get a handful I really liked. It was like a game though, and it was fun! And even when I nailed it, still some droplets were less “pretty” than others.
Here’s an SOOC shot, uncropped:


Most importantly, have fun! I love that photography can capture a split moment in time for us, enabling us to really see the beauty in things that normally slip past unnoticed.


.jpg)
.png)
.jpg)
[…] tried out a shooting tutorial by my friend Jessica Holden. I was still getting some ghosting on the edges of the drop and think I need to play around some […]